Living spaces that feel like home need some personal touches. That’s also true for renters and those in temporary housing spaces like apartments and dorms.
With removable faux wall panels, you don’t have to come home to plain white walls – but you also don’t need to deal with the penalties of using paint or nails. These renter-approved wall coverings let you add a touch of warmth and personality to your spaces without making major changes. When it’s time to move out, you can simply remove them without worrying about losing your security deposit.
Why Removable Faux Wall Panels Are Perfect for Renters
Many property owners have leases that include rules about their walls: no mounting with nails, no painting, or no major changes to their appearance. Breaking these rules can result in a breach of your lease. This limits what renters can do to decorate their living spaces.
With removable faux wall panels, you can get the look of real brick, stone, or wood without needing permanent installation or major renovations.
No Wall Damage During Installation or Removal
Real décor can involve leaving holes in the wall or scheduling major renovation projects. But with nail-free wall panels, you can create beautiful wall accents that can be easily taken down when it’s time to go. This won’t give your landlord a reason to hold back your deposit.
Lightweight and Easy To Handle
Made from durable yet lightweight materials, these panels are simple to cut, position, and install, even if you’re doing a DIY decorating project. You won’t need special tools, messy grout, or professional help.
Stylish and Realistic Finishes for Any Room
Choose from various designs that match your current interior, or add personality to an otherwise bare room. Create a cozy rustic vibe with reclaimed wood, or use sleek modern concrete for a brutalist interior. A temporary accent wall gives you the freedom to personalize your space without crossing into permanent-remodel territory.
What Makes a Temporary Accent Wall Renter-Friendly?
Not all wall upgrades are created equal. A truly renter-friendly wall upgrade should check a few important boxes.
Minimal Tools Required
No need to source drills and hammers. Most DIY projects only require tools you might already have at home or can easily get at your local craft or hardware store:
- Tape measure or ruler
- Scissors or a utility knife
- Adhesive strips or a mounting tape
- Level – optional, if you don’t want to simply eyeball your work to ensure alignment
The whole process takes just an afternoon, depending on how much wall you want covered.
Compliance With Rental Agreements
Most landlords are fine with adhesives on their walls, as long as they don’t damage the surfaces. Since these panels don’t require drilling and adhesives can be removed without causing damage, you can decorate boldly and stay fully compliant.
Design Ideas for Temporary Accent Walls
You can use removable faux wall panels to bring texture and depth to almost any space. Here are a few easy, renter-friendly ideas to inspire your next project:
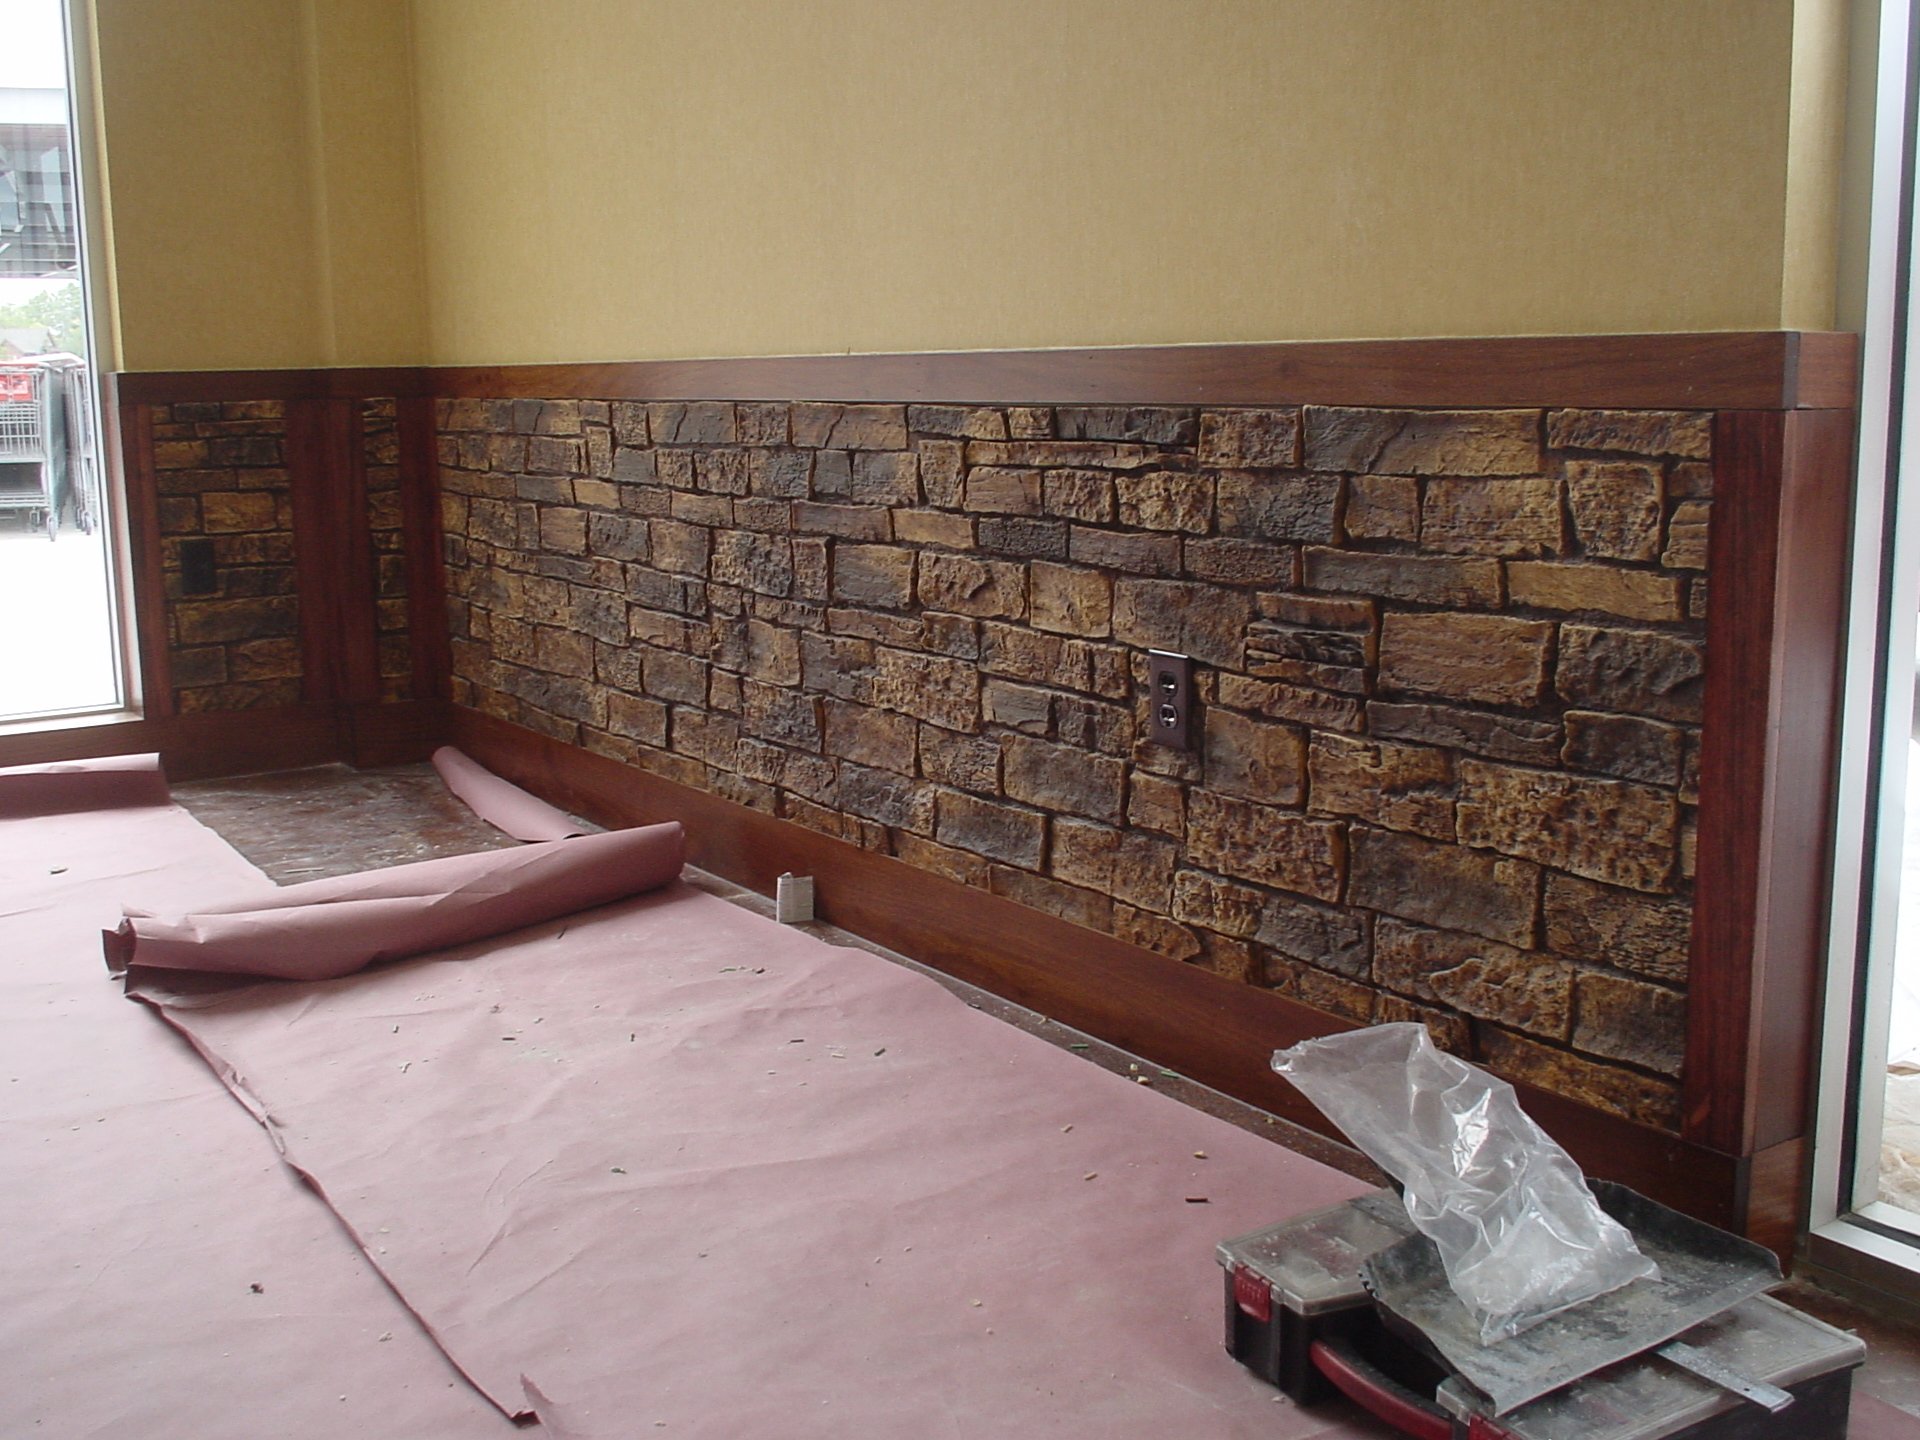
Faux Stone Fireplace Backdrop: Transform a dull living room into a cozy gathering spot with realistic stone panels that mimic the look of real masonry. Use fire-rated panels if placing panels near heat sources.
Cozy Bedroom Headboard Wall: Create a focal point behind your bed with rustic wood panels for warmth and comfort.
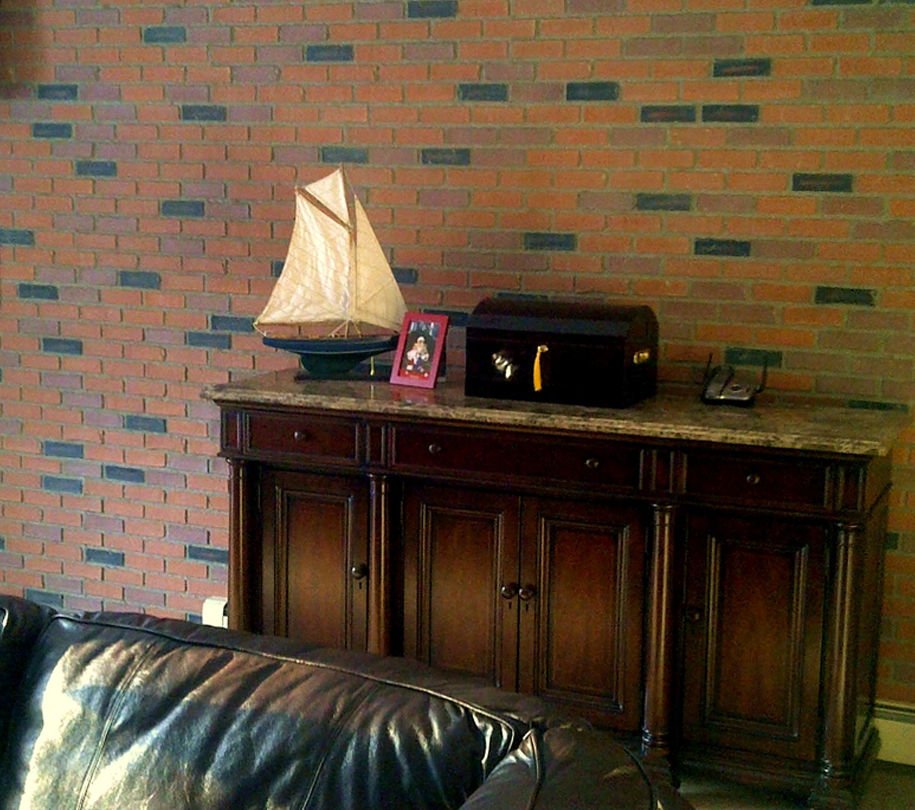
Rustic Kitchen Backsplash: Add modern or industrial style to your kitchen with wall panels that resemble reclaimed brick. They’re easy to clean and perfect for apartment kitchens.
Home Office Zoom Background: Ditch the virtual background and dress up your office workspace with textured concrete panels that look professional on camera.
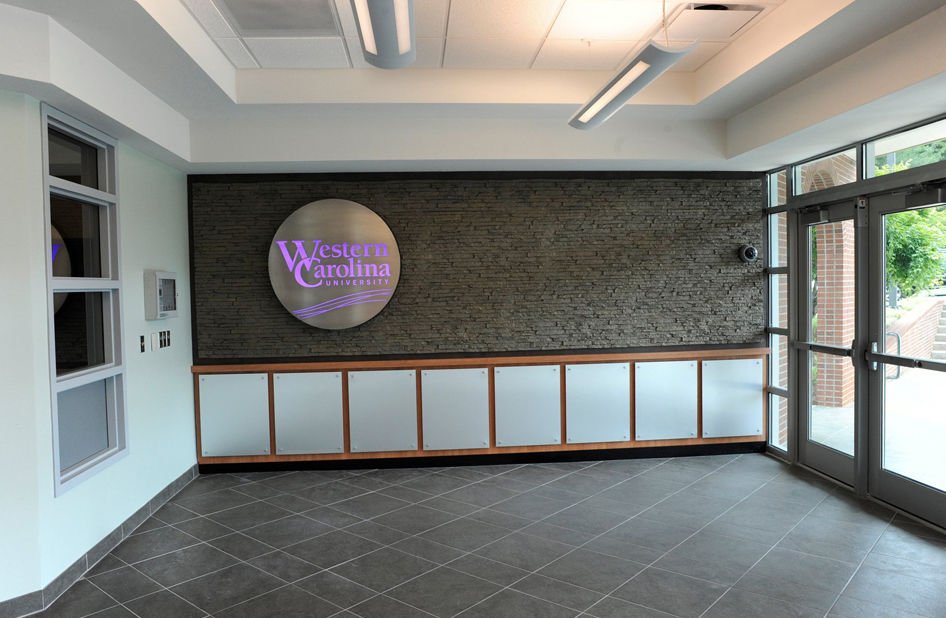
Statement Wall in an Entryway: Make a memorable first impression with a slate or tile accent wall that sets the tone as soon as you walk in.
Step-by-Step Guide To Installing Removable Faux Wall Panels
You don’t need to be a contractor to pull off this project. Follow these simple steps to install your panels using non-permanent adhesive strips or other nail-free wall panel systems:
- Measure the wall area and order panels. Determine the square footage you need before ordering. Order a few extra panels to allow for trimming or pattern alignment.
- Clean and dry the wall surface. Dust, oil, or moisture can affect how well the adhesive sticks. Wipe the wall with a damp cloth and let it dry completely before application.
- Cut panels to fit using a utility knife or hand saw. Measure the size of your wall and mark it on your panel. Use a straight edge to keep your cuts clean.
- Apply removable adhesive strips or mounting tape. Place strips evenly on the back of each panel, especially around the edges and corners. If you’re using peel-and-stick, simply remove the adhesive backing.
- Press panels into place, starting from one corner. Align carefully as you go to ensure a seamless fit. Use a level to keep things straight.
- Trim edges for a polished finish. Once all panels are mounted, trim any overlapping material and press firmly along the seams.
Choosing the Right Removable Adhesive or Mounting System
The key to a secure but removable installation lies in selecting the right adhesive or mounting system.
- For smooth drywall or painted surfaces, use removable adhesive strips.
- For lightly textured walls, use strong double-sided mounting tape designed for décor or panels.
- Avoid heavy construction adhesive, it’s too strong for temporary use and can damage the paint and walls.
To ensure panels stay in place, ensure the wall is clean and free of dust or debris. Press each panel firmly for up to a minute to activate the adhesive. If you live in a humid area, consider adding extra strips for security, especially near corners or edges.
Renter-Friendly Wall Upgrade Tips
Looking for a few pro tricks to make your renter-friendly wall upgrade stand out? Try these décor-friendly touches:
- Match Panel Color to Furniture: Create a cohesive look by choosing finishes that complement your existing color palette. If your furniture features warm tones, consider using wood panels or other panels with similar tones.
- Use Accent Lighting: LED strip lights or picture lights can be angled to highlight the wall texture. The light provides emphasized depth and creates a shadow for a realistic look.
- Create Modular Designs: Your panels don’t need to be attached to walls. Get a backing board and place it against the wall. This is another practical solution if you want to take your panels with you to your next home when you move.
These small touches help your panels look intentional and designer-level without the permanence or price tag of traditional remodeling.
How To Remove and Reuse Faux Panels Without Damage
One of the biggest perks of using removable faux wall panels is their reusability. With a little care, you can take them down and reinstall them in your next home or workspace.
- Gently pull adhesive strips down, not out. Pulling outward can damage paint. Stretch the strip parallel to the wall until it releases. Remove the adhesive from the back of the panel.
- Clean panels for storage and future use. Remove any dust or adhesive residue.
- Store panels flat or upright in a dry place. Keep them out of direct sunlight and away from moisture to preserve the finish.
Following these steps ensures your panels look just as good the second (or third) time you use them.
Where To Buy High-Quality Removable Faux Panels
A renter-friendly wall upgrade doesn’t have to be complicated or costly. With Texture Plus removable panels, you can personalize your spaces using non-permanent wall coverings.
If you’re ready to transform your space, we provide stunning wall panels that make redecorating easier for renters. Get a quote on our panels, or contact us for inquiries, recommendations, and requests for panels that fit flawlessly with your project.