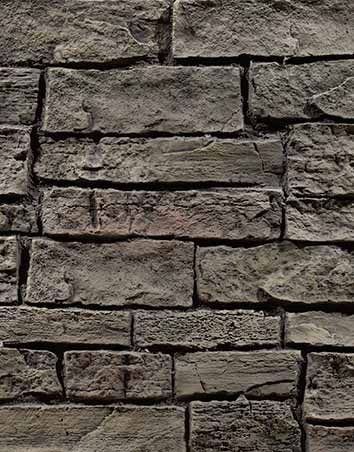
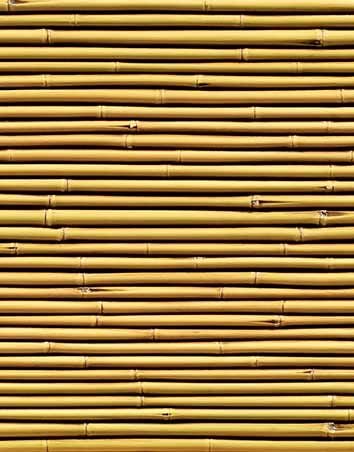
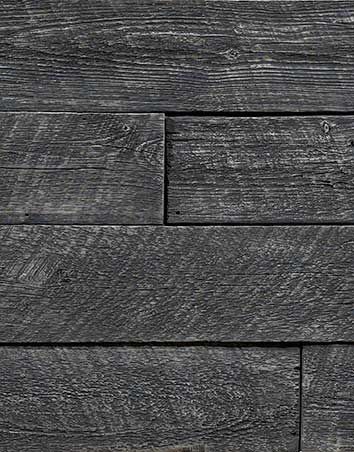
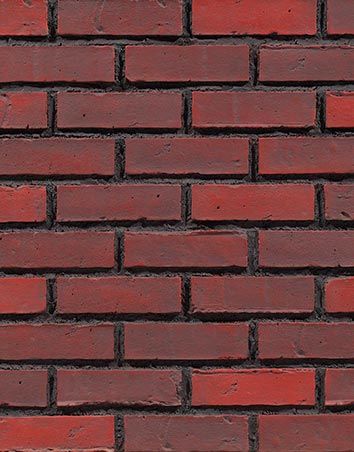
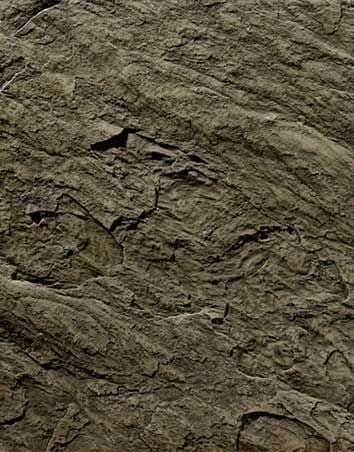
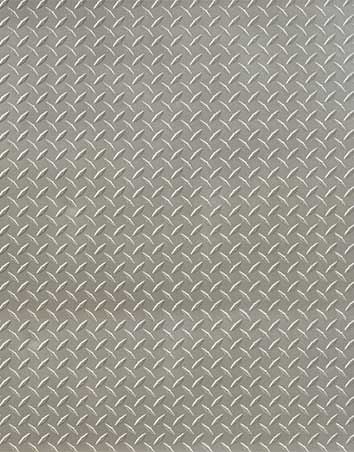
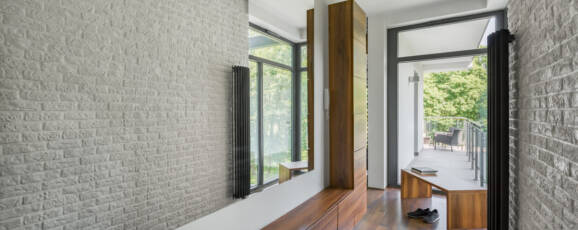
Loading...

Installation

Create a professional look easily!

Visit us on YouTube for more videos and helpful hints.

Easy wall mounting

Transform almost any surface

Texture Plus® simulated siding is easily installed with no special equipment or expertise needed and will not absorb moisture and will not warp, rot or crack. The faux panels are simply installed using construction adhesive and screws. Texture Plus faux panels may expand and contract slightly with temperature changes, so install the faux stone panels as tightly as possible and follow the storage and faux panel installation instructions carefully. The following instruction guidelines will help provide the best installation results for your next project.

Storing Texture Plus Faux Panels
Store Texture Plus faux panels flat on a surface in order to avoid 'bowing'. If panels are stored in an upright position and do bow, lay them flat and they will self-correct.

Hot Weather Installation
If faux panels have been stored under hot conditions,allow the simulated siding to cool down to normal temperature before installation.

Cold Weather Installation
If faux panels have been stored at room temperature or cooler, you may install faux panels immediately.

Recommended Adhesive
We recommend PL® Premium Construction Adhesive or similar adhesive.

Mechanical Fastening
Use either exterior or interior screws as appropriate for your installation.

Tools You'll Need
Texture Plus faux panels are easily installed using tools found in almost everyone's toolbox. To complete a wall, we recommend using:

  • Screws
  • Construction Adhesive/Glue (we recommend PL® Premium Construction Adhesive)
  • Screwdriver
  • Sandpaper or sanding block
  • Caulking gun Texture Plus color-matched caulk
  • Optional: hacksaw (for custom cutting: jig saw, band saw, your preference)

Getting Started
Texture Plus simulated stone siding should be installed on solid backing. To install faux panels, simply run a bead of adhesive along the back of each faux panel and at each end. We strongly recommend use of construction adhesive and screws in every joint. All joints should be butt joints on straight runs and mitered joints in corners. Texture Plus faux panels may require additional shimming and trimming for alignment.

How To Cover A Wall Using Texture Plus Faux Panels INTERLOCK Faux PANELS or STANDARD Faux PANELS
Start at the lower right part of the wall. Trim the "fingers" off of the first panel. Make sure it is level. Apply glue to the back of the faux panel and screw into wall using dry wall screws (interior) or galvanized screws (exterior). Be sure that the tongue portion of the faux panel is on top, groove portion on the bottom. Glue and screw in place. Repeat until the first course is complete. Make sure to dry fit each panel and trim as appropriate. When you get to the left hand side, trim the final panel to fit and then use the left over piece to begin the second course. Follow finishing instructions below.

How To Miter A Corner Using Texture Plus Faux Panels
Download and utilize our How to Miter a Corner installation sheet. Follow finishing instructions below.

How To Use Texture Plus MOLDED CORNERS Using An Overlaid Joint
First, finish the walls with Texture Plus® faux panels. Next, overlay the molded corner directly on top of the corner faux panels and check for fit. Apply glue to the back of the corner. Use longer screws to attach the corner to both corner faux panels and the wall being covered. Follow finishing instructions below.

How To Use Texture Plus MOLDED CORNERS Using A Butt Joint
First, attach molded Texture Plus corner to the wall by applying glue to the backside of the corner and screwing into the wall using drywall screws. Next, align a Texture Plus standard faux panel (or trim an interlock faux panel) to the molded corner. Then apply glue to the back of the faux panels and screw into the wall using drywall screws. Follow finishing instructions below.

FINISHING INSTRUCTIONS For All Projects
For a final finish, use Texture Plus color-matched caulk to fill all screw holes and space in the joint. Smooth caulk and wipe away any excess (a wet rag works well) and finish the seams of the wall to complete the project.