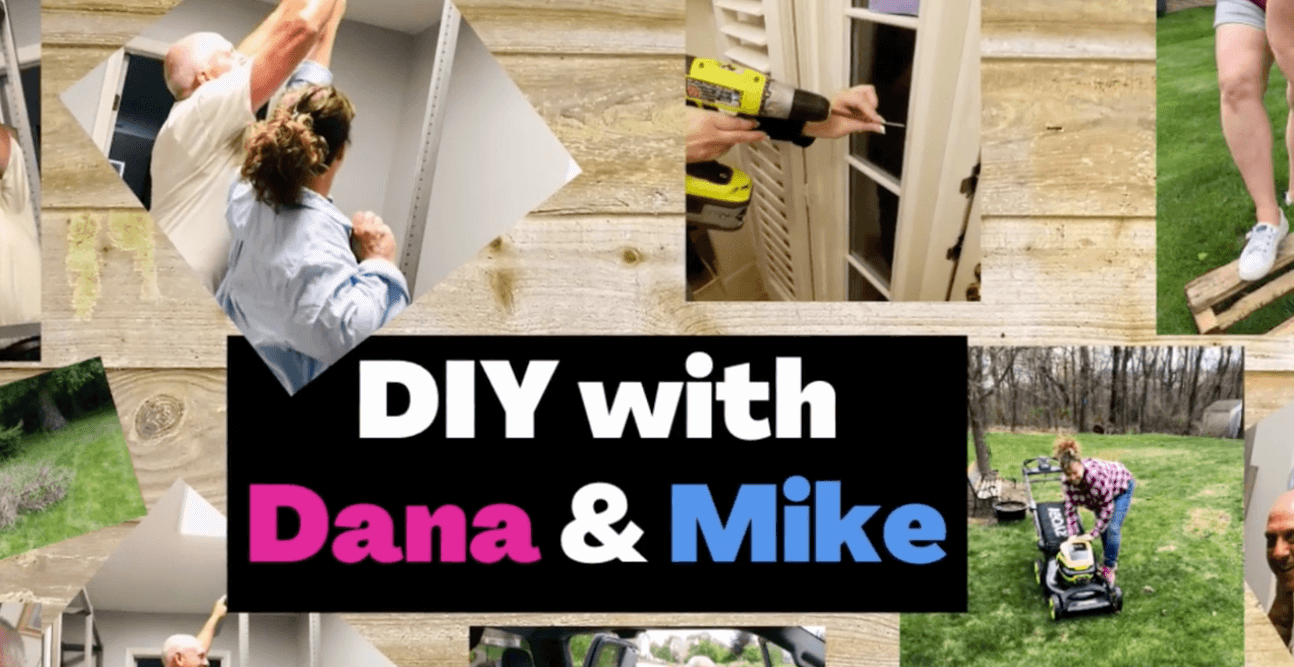
Longtime Texture Plus customers Dana and Mike Vento are DIY pros. Dana is an inventive DIYer with experience working on simple to difficult projects, while Michael has an extensive background in construction.
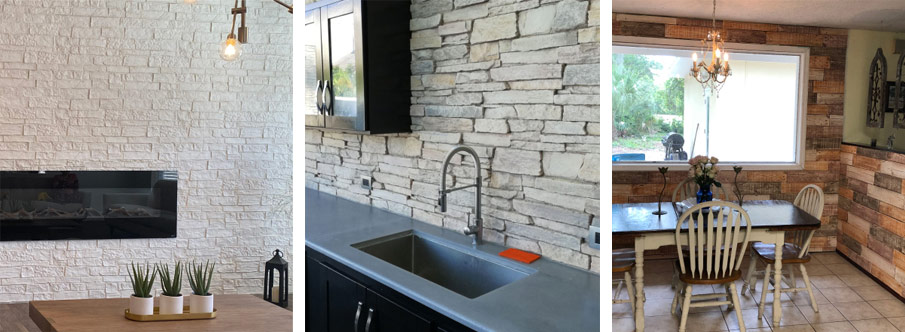
When they decided to create a rustic accent wall in their dining room, they selected our interlocking Antique Select Brick Faux Wall Panels in Colonial Tan, and documented the installation process — complete with DIY tips and advice — in a 7-minute video!
See the DIY Installation Process
For this project, Dana and Mike needed to alter the 2’ x 4’ panels to fit around electrical outlets and four large windows. They also used the following tools and supplies:
- Saw
- Drill
- Construction adhesive
- Utility knife
- Drywall screws
- Step ladder
- Color-match textured caulk
“We always work with the best brands and Texture Plus is incredibly brilliant and the BEST on the market,” Dana said on her blog.
Installation Tips from Dana & Mike
- Check the fit before you nail or glue the pieces to the wall
- If you are working around electrical outlets, turn off the electricity first
- Use cut pieces from other panels when you can to cut back on waste
- After cutting the pieces to size, vacuum the panels and the wall before applying adhesive
- Use a drop cloth underneath the panels when you’re applying adhesive
Check out the video for more tips!