Spruce Up any Wall with Decorative Wall Panels
As a thoughtful enhancement to any space, decorative wall paneling can be a surefire hit.
Interior wall paneling was originally used for purely practical reasons like additional insulation and durability. Since then, its uses have expanded to be fun and expressive, a way to add personality, style, dimension and texture to a room.
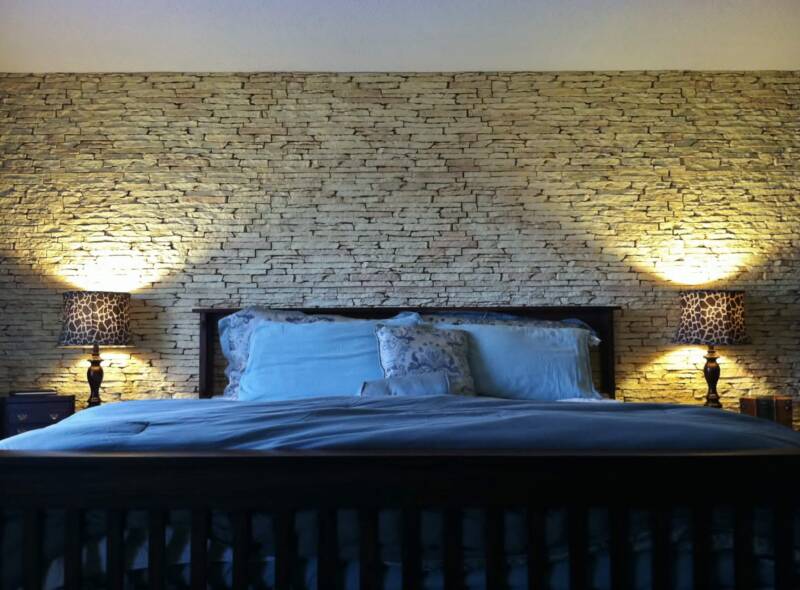
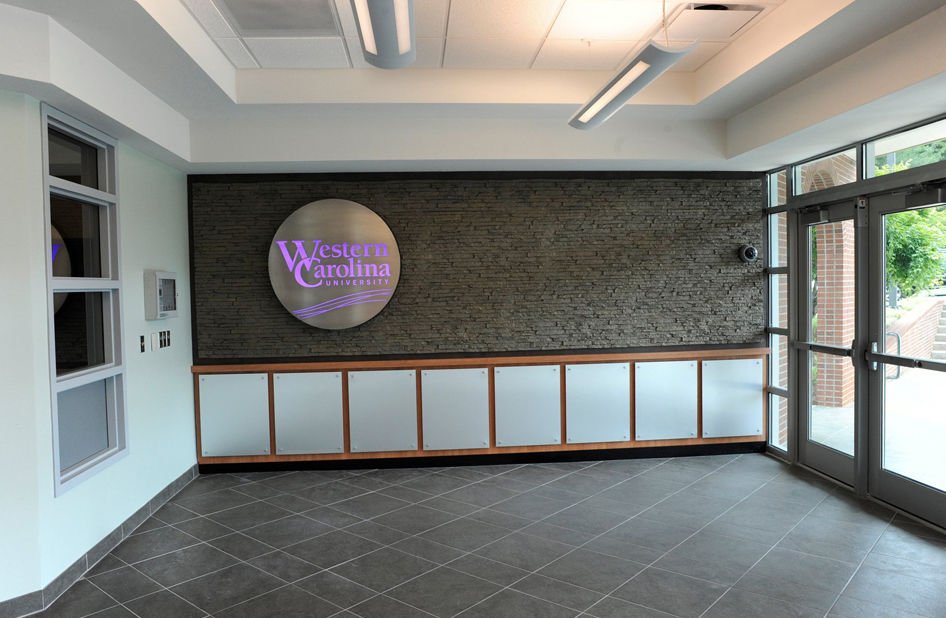
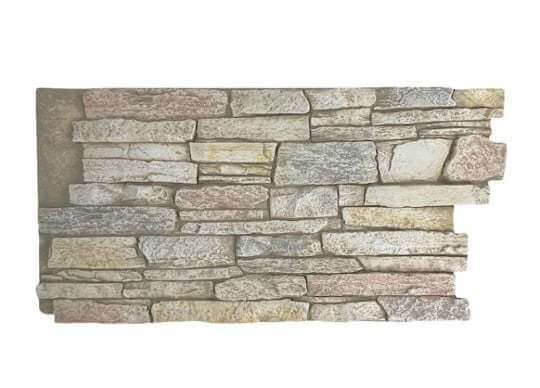
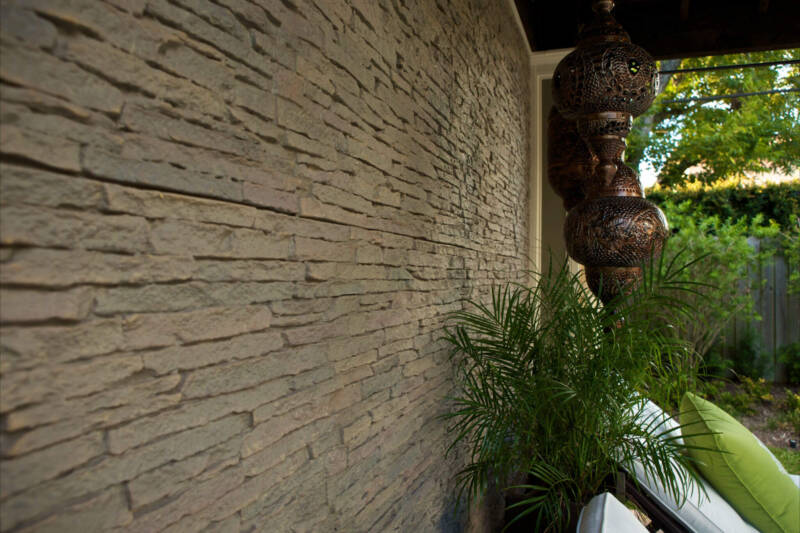
Textures, such as the above faux stacked ledgestone faux wall panels, add character and can help “fill in” a larger space. Accent walls allow for creativity by introducing a splash of color or some other attention-grabbing feature.
If you’re looking to add some character to a space, but aren’t sure where to start with decorative wall paneling, we have you covered. There are so many great options for sprucing up a room, from faux wood paneling to geometric creativity to wainscoting.
If you’re looking for inspiration for decorative wall paneling ideas, read on.
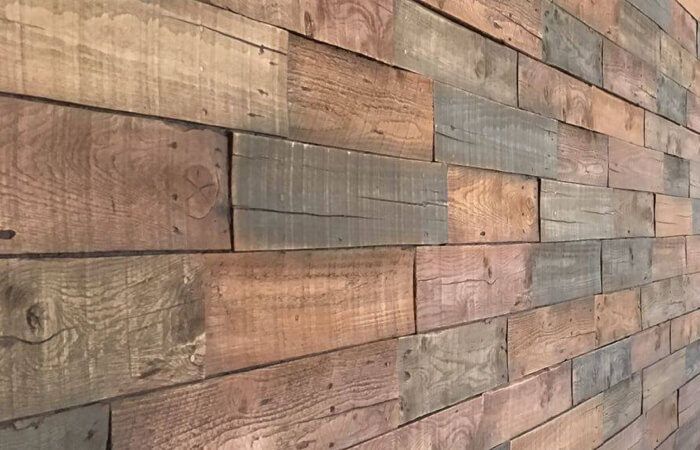
Wood
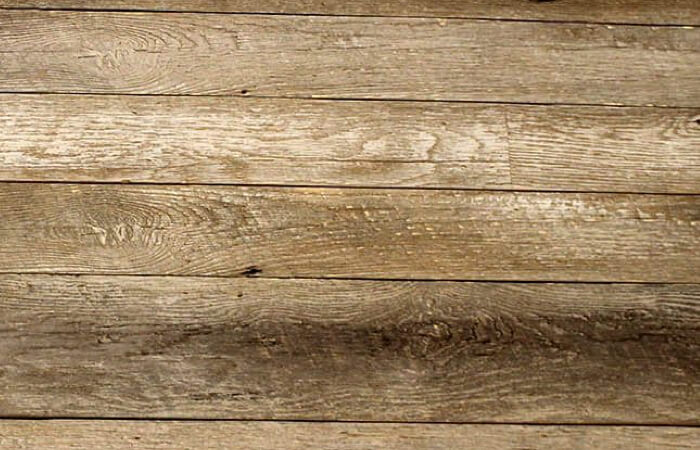
Wood paneling is a great option for achieving a classic or rustic look. Raised wood paneling provides exciting options for creating texture through light and shadow. You can achieve the same look of real or claimed wood with the right faux wood panel design, as well. Try it in your dining room for an elegant lodge feeling.
Average cost per square foot of raised wood paneling is about $20.
Board and Batten
Battens are narrow strips installed over large, flat boards. They can be used to create a rustic, cottage- or farmhouse-style appearance, or can be oriented vertically for a more modern look. Battens add texture and look great in many applications.
Average cost per square foot of board and batten paneling is about $12.
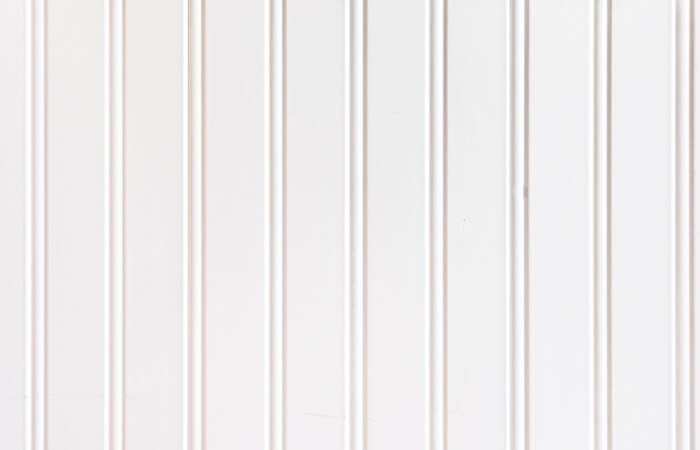
Beadboard
Beadboard showcases thin strips of wood with a small ridge—called the bead—in
between. The vertical grooves provide a traditional look and can be applied in a
variety of ways. Beadboard is not limited to a kid’s playroom. Paired with the right
color and a complementary wall, beadboard can be an attractive option for a sitting room or space in need of a sprucing up.
Average cost per square foot of beadboard paneling is about $12.
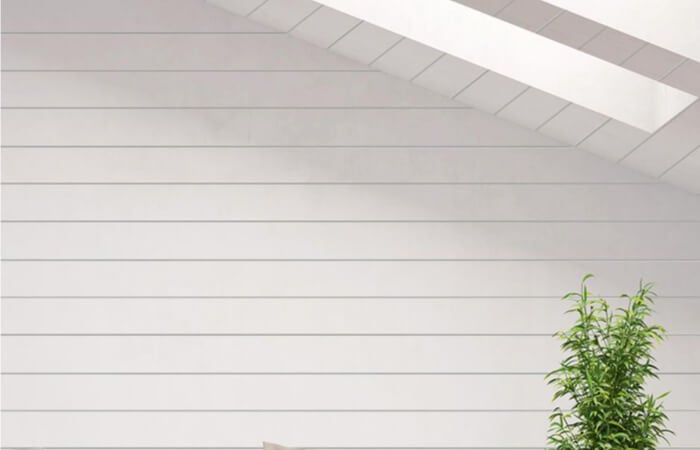
Shiplap
Most likely taking its name from the style of paneling used to waterproof ships, shiplap can be a fantastic look in any room. Accent a fireplace, kitchen range or give an entire room a farmhouse look with the interlocking joints and natural beauty of shiplap.
Average cost per square foot of shiplap paneling is about $5.
Nickle Gap
Nickel gap is similar to shiplap, but gets its name from the nickel-sized gap between each board. It looks great as natural wood or painted, and can bring character and dimension to any room!
Average cost per square foot of nickel gap paneling is about $5.
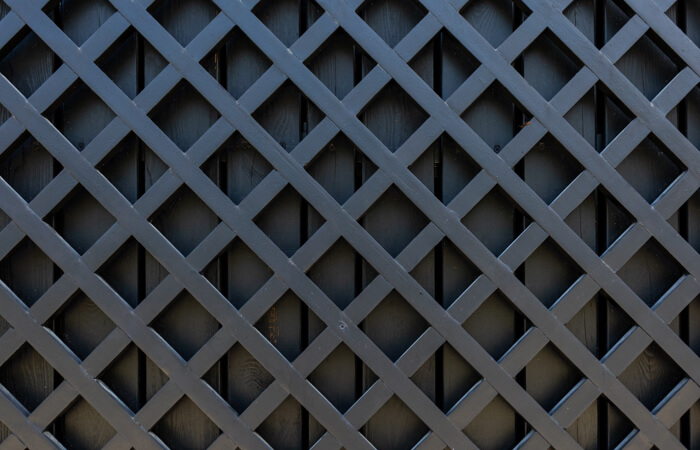
Lattice
Lattice — not just for use outdoors and in your garden. Bring lattice inside for an
inspired look that evokes nature or to create a pleasing grid-like consistency within a space.
Average cost per square foot of lattice paneling is about $20.
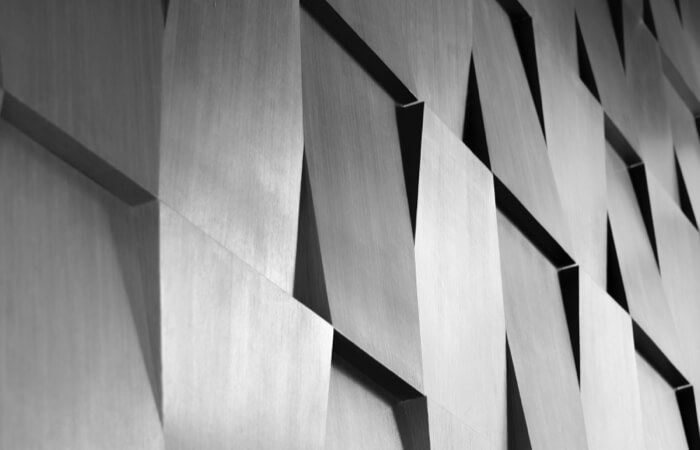
Geometric
Let your creativity flow with paneling that utilizes unique shapes and designs, like
circles, triangles, stars and more. Have fun with it!
Average cost per square foot of geometric paneling is about $20.
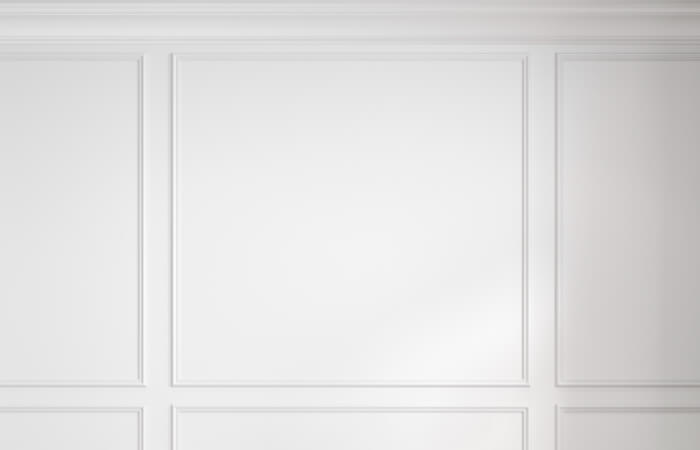
Trim
Raised trim with a beveled edge (a more rounded, non-perpendicular edge) is a
foolproof way to add dimension and style to a room in a more traditional manner. For a more contemporary look, choose trim with flat edges or opt for an orderly grid
pattern made up of squares instead of rectangles.
Average cost per square foot of raised trim paneling is about $25.
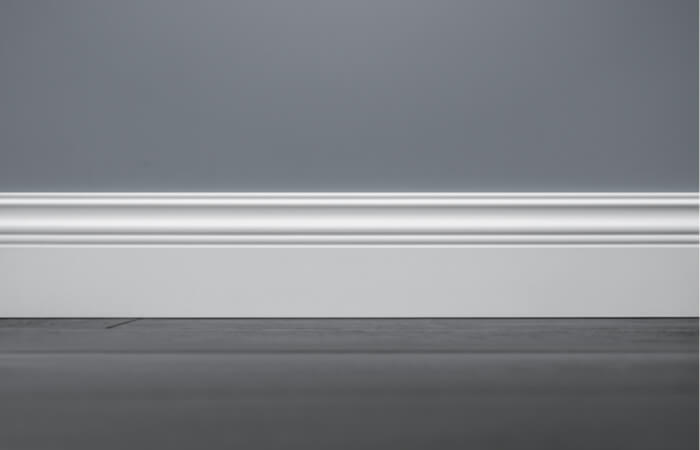
Wainscoting
Wainscoting is decorative and functional, and almost any material can be used to cover, protect and decorate the bottom half of a wall. While most wainscoting is wood, the use of faux wall panels can allow you to emulate the look of brick, stone and other materials, take your pick!
Average cost per square foot of wainscoting paneling is about $20.
Texture Plus Faux Wall Panels
Texture plus faux wall panels are versatile and easy to use and are available in a
variety of styles and textures. Plus they can even mimic natural materials like stone, brick or wood. They are usable both indoors and out!
 Even better, it’s so easy to install faux wall panels that anyone can take it on as a home DIY project. There’s no need to hire a mason to lay stone or a carpenter to cut wood. All you need to cut, install and secure your faux wall panels are simple tools and supplies such as a saw, drill, adhesive and screws.
How to Determine Decorative Wall Costs
You’re probably wondering what all of these decorative wall options will cost, right? Your budget should always be top of mind when planning out projects like these. We’re here to help.
Of course the answer is that it depends. The price is dependent on the type of
material you choose for your decorative wall paneling. For example, shiplap is a more budget-friendly material, while raised panels or decorative overlays will cost more per square foot.
It first helps to know how much surface area you are working with. Here’s how you can determine how much material to buy of whichever interior decorative wall panels you like the most:
- Working in inches, measure the width of each wall from left to right, then the height of the wall from top to bottom
- Multiple the width by the height of each wall to determine the area in square inches.
- Next divide the area by 144 (the number of inches in a square foot) to get the net square feet of the walls.
- If the wall includes windows or doors, you’ll need to measure those areas as well (width and height from edge to edge), and divide the area by 144 to get the net square feet.
- Then, subtract the net square feet of the door(s) and/or window(s) from the net square footage of the walls to determine the amount of material you’ll need.
- Once you know the square footage of the area, determine how much material you need and multiply it by the cost for your estimated price of wall paneling.
Determining the square footage of the space you are looking to elevate will help you (and us) know just how many panels you need. Our panels are (usually) 2’ by 4’.
Quick breakdown on Texture Plus costs:
For 1-24 panels, the price per panel is $99.95.
For 25–149 panels, the price per panel is $95.95.
If you need more than 150 panels, give us a ring.
Tips for DIY Decorative Wall Panels
Interested in saving costs by tackling a decorative wall paneling project yourself?
We don’t blame you. Adding 3D wall panels to a 12-by-12-foot room might take a
contractor more than 15 hours to complete, so it’s undeniable you can save yourself some money by taking it on in a DIY-capacity. But, take note! If you’re unfamiliar with some of the materials and best practices for installation, the process can turn into a bit of a headache. Here are some tips for installing decorative wall panels yourself:
- Plan. We can’t overestimate the importance of planning the project from start to finish, so you can be best prepared for anything that may crop up. Maybe start with a drawing of what you hope your end result will look like. Understanding the differences between the materials available to you will help you determine cost, the tools you’ll need and how long the project will take.
- Measure. A large part of the planning process is measuring your wall and the square footage of the room you wish to enhance, including the doors, windows and other obstacles on the wall. This will ensure you purchase the right amount of materials and that you’re not wasting anything by cutting the wrong sizes. Measure well, and then do it again!
- Cut your panels. Cut according to your measurements, and be sure to save the leftover materials for help in filling gaps and edges. Cut as you go, rather than all at once, in case you need to make adjustments or corrections. Sand the edges so they are smooth for installation!
- Sand and smooth your walls. Sandpaper or an electric sander will work. This removes any lumps or bumps that may work as an obstacle to your paneling.
- Fill in any gaps. Once you’ve applied your panels to your wall, you can use caulk or filler to make sure any gaps are filled in. If you’re using Texture Plus faux wall panels, we recommend using one of our UV Guard Textured Caulks for every five panels.
Decorative Wall Panel FAQs
What are the benefits of adding wall panels?
Wall panels add an extra layer of insulation and protection to your walls, and come in many shapes and sizes to add texture, dimension and character to a space.
Can you paint over wall panels?
Sure! For faux wood and wood-based paneling, you can paint over them.
How can you remove wall panels?
By carefully removing each nail or applicator, you can slowly remove wall panels
without any damage to the underlying wall.
Can I install panels in a bathroom or in the kitchen?
Yes! Depending on the size and intended use for the wall paneling in your bathroom or kitchen, many different types of decorative wall paneling can work.
Can I install panels outside?
Definitely. Our faux wall panels are constructed of a high-density polymer, making them impervious to water damage, insect damage and all types of weather. An
extremely durable UV resistant clear coat also protects against sun damage and
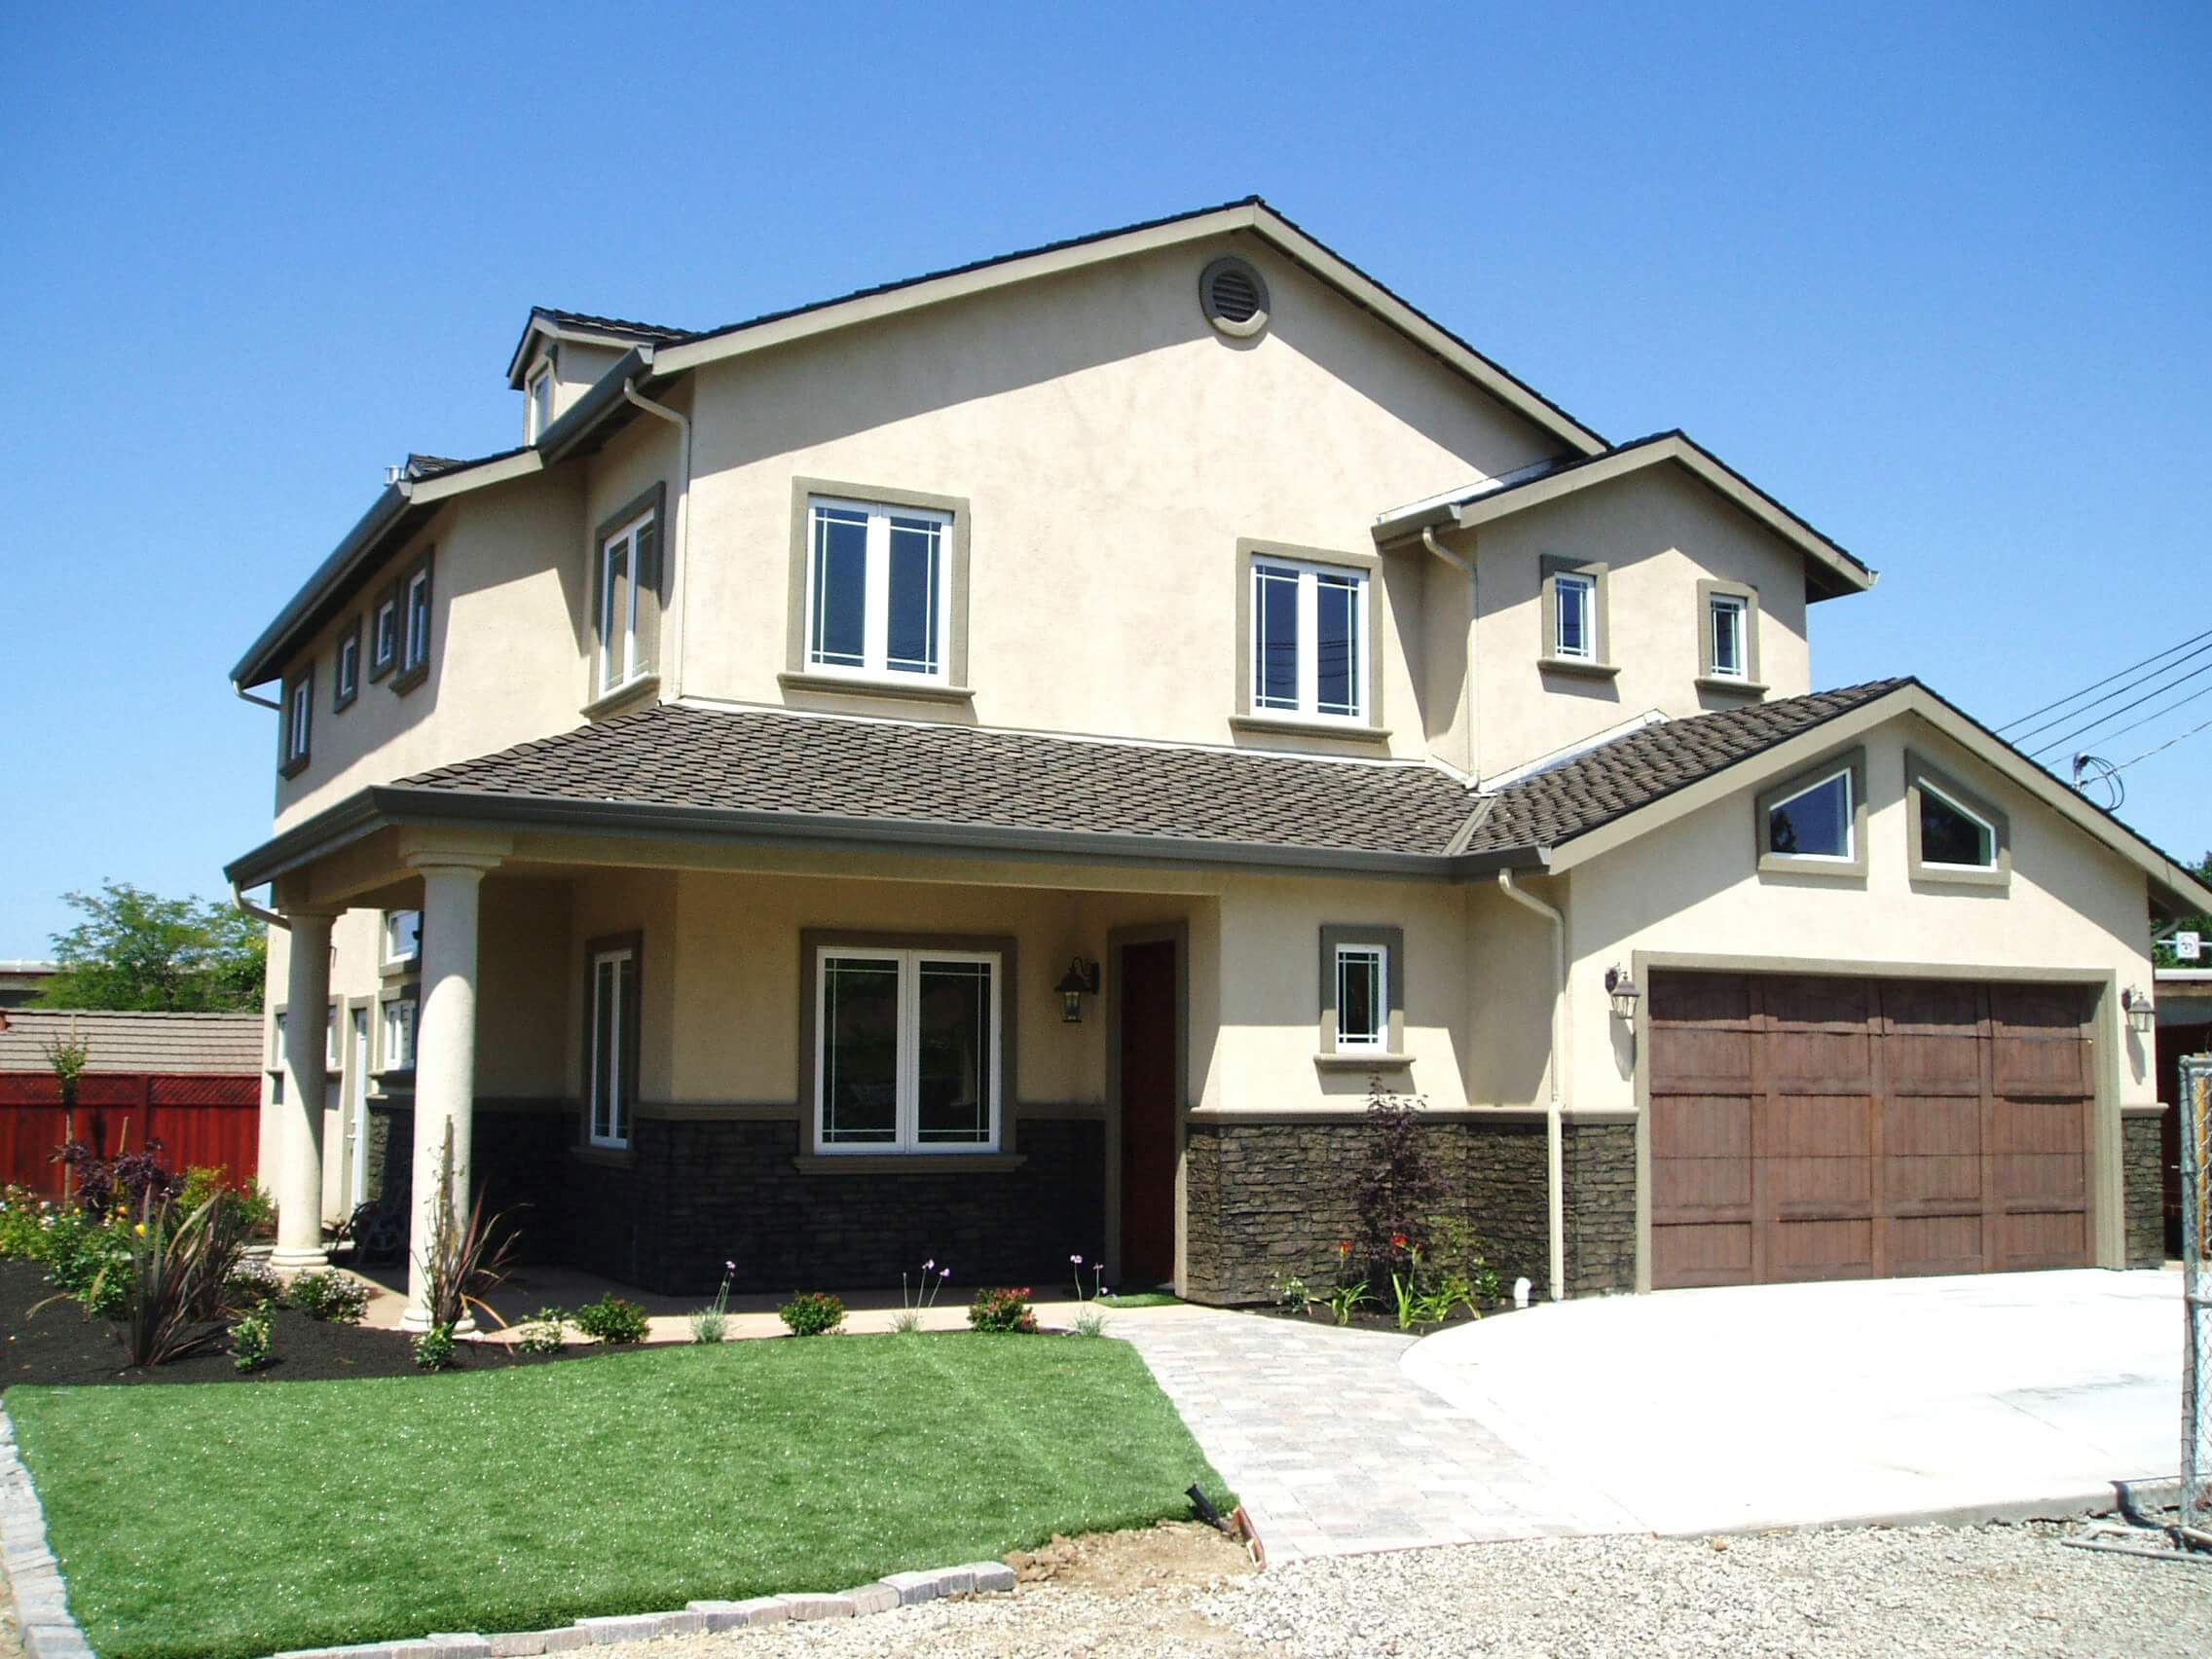
fading. Check out our faux wood, stone and brick siding for outside use.
What size are your panels?
Our panels are an average of 2’ by 4’. Many designs are available in our interlocking style, which allows you to seamlessly cover an unlimited area (i.e., any area wider than four feet). As a rule of thumb, plan on 8 sq/ft for standard panels and 7 sq/ft for interlocking panels.
Do you offer a warranty?
Sure do! At Texture Plus, we stand behind our faux wall panels. Texture Plus® has been in business for over 31 years perfecting our process and materials, and our faux wall panel line has evolved over the years to keep pace with the needs of our
customers. Satisfied customers in extreme climates from Alaska to the Caribbean use Texture Plus® with confidence. Our faux wall panels are backed by a 25-year limited warranty.
Are Texture Plus Wall panels safe for my child?
Texture Plus is completely safe for both children and adults. There is no Material Safety Data Sheet (MSDS) required with our products and our panels are produced with all water-based chemistry, with no VOC and they do not “off gas” any formaldehyde.
What tools do I need to install panels on my own?
Texture Plus faux wall panels are easily installed using tools found in almost
everyone’s toolbox. To complete a wall, we recommend using:
- Screws
- Construction Adhesive/Glue (we recommend PL® Polyurethane Premium Construction Adhesive)
- Screwdriver
- Sandpaper or sanding block
- Caulking gun
- Texture Plus® color-matched textured caulk
- Optional: Saw (for custom cutting).
Visit our gallery to start getting inspired about your next decorative wall paneling project! And, get some free samples of Texture Plus panels here!
Share