Faux stone paneling has become a popular way to transform exterior walls. Whether it is entry columns that need an upscale upgrade, a garage wall that feels bland, or a foundation that looks worn, faux stone delivers visual impact without the cost and labor of real stone or brick.
The aesthetic payoff is real and immediate, but there is a catch in the minds of many homeowners. Stone and brick are natural materials built for outdoor exposure. Panels are manufactured products. The question that stops people is whether faux panels can actually hold up outside or whether they are only an indoor solution that will fail when rain and sun begin working against them.
The answer is yes: you can install faux stone paneling on exterior walls, provided you choose the right product and follow proper installation techniques.
What Are Faux Stone Panels Made Of?
Exterior-grade faux stone panels are typically manufactured from high-density polyurethane or similar engineered polymers. This material is lightweight yet rigid and is designed to resist moisture, UV exposure, temperature swings, and physical impact.
The manufacturing process embeds texture and color throughout the material, so surface wear does not expose a different layer underneath. Unlike paint or thin veneers, the color and pattern remain consistent even with weathering.
Interior panels will not hold up outdoors. Outdoor-rated panels include UV stabilizers, moisture barriers, and built-in flexibility to handle freeze-thaw expansion without cracking. When shopping, always confirm that the product is rated for exterior use.
Where Can You Use Faux Stone Panels on Exterior Walls?
The question “Can you install faux stone paneling on an exterior wall?” becomes practical once you identify where it works best. Faux stone can be used on a range of outdoor surfaces when installed properly. The key is matching the panel type to your specific climate and exposure level.
Entry Columns and Porch Posts
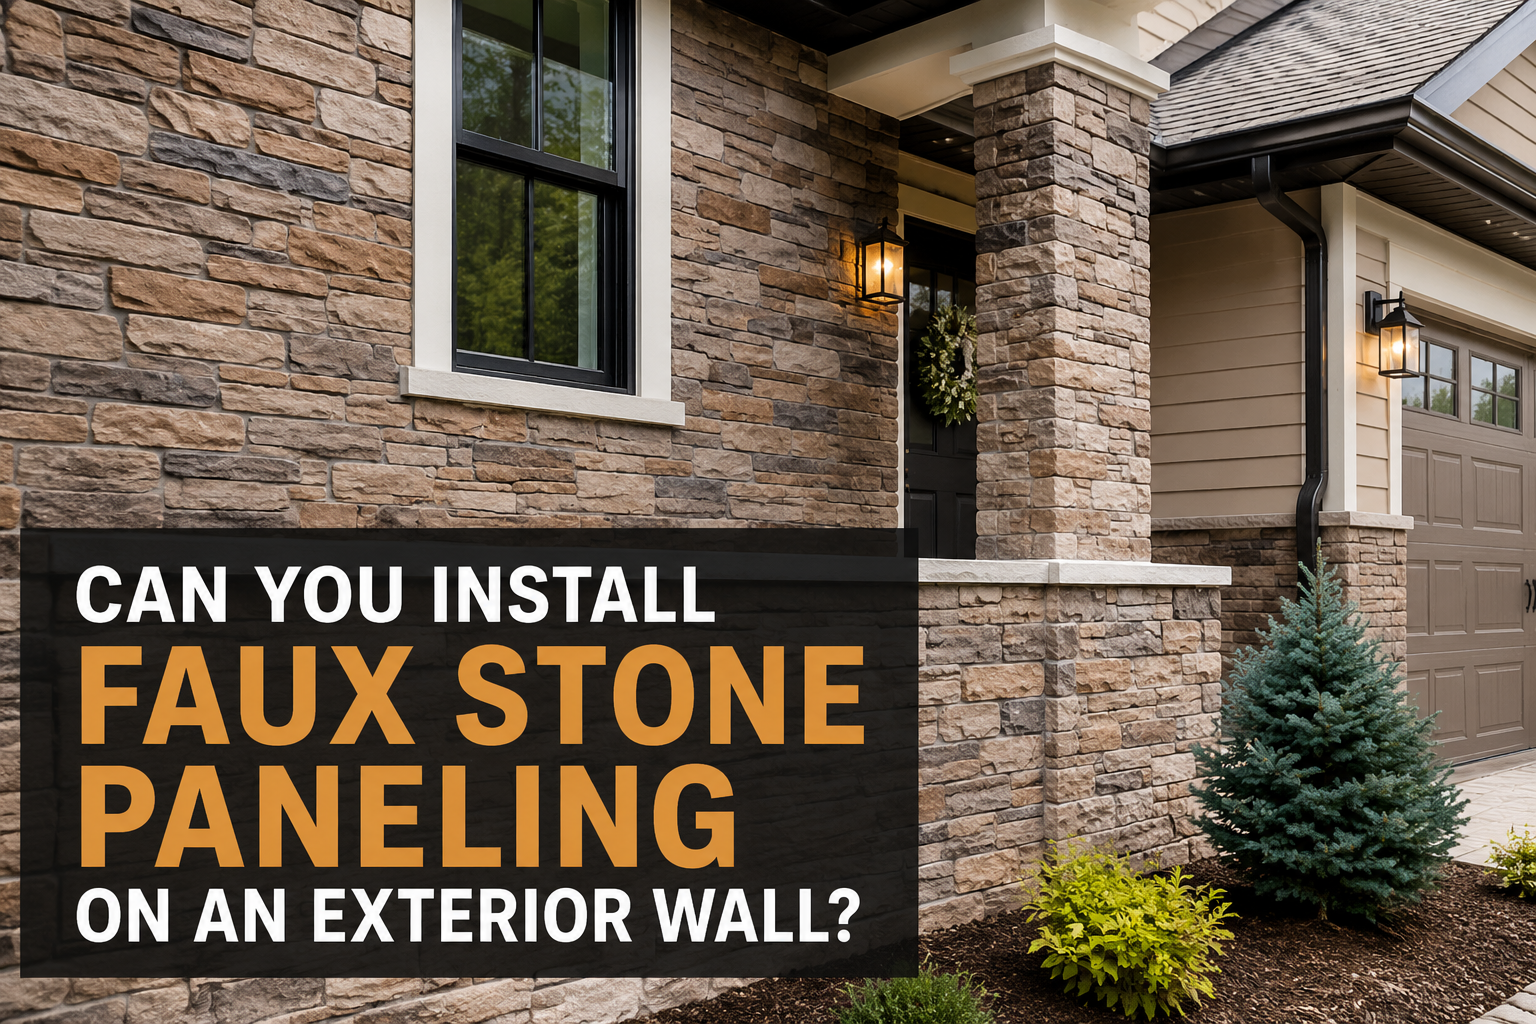
Faux stone panels can create an upscale first impression and help frame the front door. They are often used to add texture and visual weight to porch posts and entry columns.
Garage Walls and Skirting
Faux stone can add visual interest to blank concrete or metal walls and can help garage exteriors feel more connected to the rest of the home.
Outdoor Kitchens and Bar Areas
Exterior-rated panels can be a practical choice for covered patios and semi-exposed outdoor entertainment spaces, including kitchen islands and bar fronts.
Foundation or Concrete Skirting
Faux stone panels can conceal exposed concrete and add a decorative accent around the base of a home.
Accent Walls on Siding or Stucco
Stone-look panels can break up monotone exteriors and draw attention to specific architectural features.
Chimney Exteriors
Faux stone can upgrade the appearance of a chimney without the labor, cost, or structural weight of actual stone.
How to Install Faux Stone Panels Outdoors: Step by Step
Installing exterior faux panels requires careful preparation and weatherproofing. Skipping these steps can lead to premature failure. When the installation is handled correctly, the panels can provide long-lasting exterior performance.
Surface Preparation
Start with a clean, dry, and level surface. Dirt, mold, or loose material beneath the panels can cause future problems.
- Power wash or scrub the wall to remove dirt, algae, and debris.
- Allow the surface to dry completely for at least 24 hours in dry conditions.
- Check the wall with a long straightedge. Fill low spots with exterior-grade patching compound or shims.
- Sand rough areas smooth, especially on concrete or unfinished wood.
- If installing over wood, make sure it is pressure-treated or naturally rot-resistant.
- For masonry, confirm that the mortar is solid and that no cracks are allowing water penetration.
A level, clean surface helps ensure the best results. Shortcuts can lead to gaps, panel movement, and premature failure.
Weatherproofing Considerations
Water management is where many outdoor panel projects succeed or fail. Plan your approach before fastening the first panel.
Seal all seams and edges. Use exterior-grade polyurethane caulk anywhere the panels meet existing walls, trim, corners, or adjacent panels.
Consider an underlayment. A vapor barrier or felt underlayment may provide additional protection in climates with extreme freeze-thaw cycles or high moisture.
Encourage drainage. If panels are installed horizontally, slope the bottom edge slightly outward so water sheds away from the base.
Allow for thermal expansion. Leave a gap of approximately one-quarter inch between panel edges and adjacent materials, or follow the panel manufacturer’s installation requirements.
Proper sealing prevents water from getting behind the panels, which is a primary cause of long-term failure. Trapped moisture can contribute to substrate rot, mold growth, and panel damage.
Tools and Materials You Will Need
Having everything on hand before you begin helps prevent delays during installation. Most projects require exterior-rated faux stone panels, polyurethane-based construction adhesive, stainless steel screws or other corrosion-resistant fasteners, a drill or screwdriver, a two- to four-foot level, exterior caulk and a caulk gun, safety glasses, gloves, a straightedge or chalk line, a utility knife, and painter’s tape.
Installation Steps
- Lay out your design. Plan panel placement before applying adhesive. Start at the bottom and work upward. Stagger vertical seams in a brick-like pattern for a more natural appearance and stronger layout.
- Apply adhesive and fasteners. Spread exterior-grade polyurethane adhesive on the back of each panel in an S-shaped pattern. Press the panel firmly into place and secure it with two or three corrosion-resistant screws near the edges. Adhesive and fasteners work together to create a stronger installation.
- Use shims as needed. If the wall is not perfectly level, place composite shims behind the panels to provide support and eliminate gaps.
- Check alignment frequently. Use a level every two or three panels to catch alignment problems before they become difficult to correct.
- Allow the adhesive to cure. Follow the manufacturer’s recommended cure time before exposing the panels to water or significant loads. Cure times commonly range from 24 to 48 hours.
- Seal all seams and edges. After the adhesive has cured, apply exterior caulk to every seam, corner, and transition where panels meet other materials. Pay particular attention to bottom edges and areas where water could collect.
- Paint or finish if desired. Faux panels are typically pre-colored, but some can be painted. Use an exterior paint approved for plastic or polymer surfaces and follow the manufacturer’s recommendations.
Finishing Touches
Protect corners and exposed edges. Install corner or edge trim to cap outside corners and protect panel ends from weather exposure.
Protect the base. Add base trim or metal flashing where panels meet the ground or foundation to reduce water wicking.
Inspect the caulk. Review all caulk lines after the first cure cycle and reapply where necessary, as some caulks may shrink slightly while curing.
Use an appropriate exterior finish. Painted panels may benefit from a compatible clear or tinted exterior sealant for added UV and moisture protection. Texture Plus® finishes its wall panels with a durable UV-resistant clear coat so the panels can be used in both indoor and outdoor applications.
Why Faux Stone Works on Exterior Walls
Exterior faux panels offer several practical advantages over traditional materials.
Lightweight Construction
Faux stone panels generally do not require the structural reinforcement, special footings, or heavy equipment associated with natural stone. Homeowners and small crews can handle them more easily.
Durability and Weather Resistance
Exterior-rated panels are designed to resist moisture, UV fading, freeze-thaw cycles, and physical damage. When installed correctly, they can maintain their appearance through changing outdoor conditions.
Cost Savings
Real stone, brick, and slate often require masonry expertise, heavy lifting, and specialized tools. Faux panels can reduce both material and labor costs.
No Specialized Masonry Skills Required
DIYers with basic carpentry tools can often complete the installation. A contractor may speed up the project, but a mason is not typically required for panel-based systems.
Immediate Curb Appeal
The visual transformation is apparent as soon as the panels are installed, without the curing and labor time associated with traditional masonry.
Low Maintenance
Unlike some natural materials, faux panels generally do not require annual staining or intensive maintenance. Occasional cleaning with mild soap and water can help keep them looking fresh.
Install Faux Stone Panels With Confidence
So, can you install faux stone paneling on an exterior wall? The answer depends on choosing the right product and following the proper installation method. When installed correctly, exterior faux stone panels can provide durability, visual appeal, and value. The key is selecting exterior-rated panels, preparing the surface, and sealing every seam properly.
Whether you are refreshing entry columns, upgrading a garage wall, or accenting a foundation, faux stone offers a practical alternative to real stone or brick. The installation can be manageable for DIY homeowners while still producing a finish suitable for contractors and designers.
Texture Plus faux stone panels are engineered for outdoor conditions as well as indoor applications. With more than 1,000 designs, factory-direct pricing, and color-matching options, you can choose a style that fits the needs of your project.
Explore outdoor and indoor faux stone panels from Texture Plus.